

Getting started with your new miniatures
If you are new to handling metal miniatures you may find there are some slight differences in comparison to their plastic and resin counterparts. The most obvious difference is the weight; a 28mm scale mini made from plastic doesn’t weigh all that much, whereas a pewter miniature of the same size will weigh considerably more.
In terms of preparing to paint your miniature, to begin with you will want to remove any extra metal left over from the casting process. We make every effort to ensure your miniatures are as cleanly cast as possible but you may find fine moulding lines or even a little bit of flash (excess metal) at the edges. This is normal and easily cleaned.
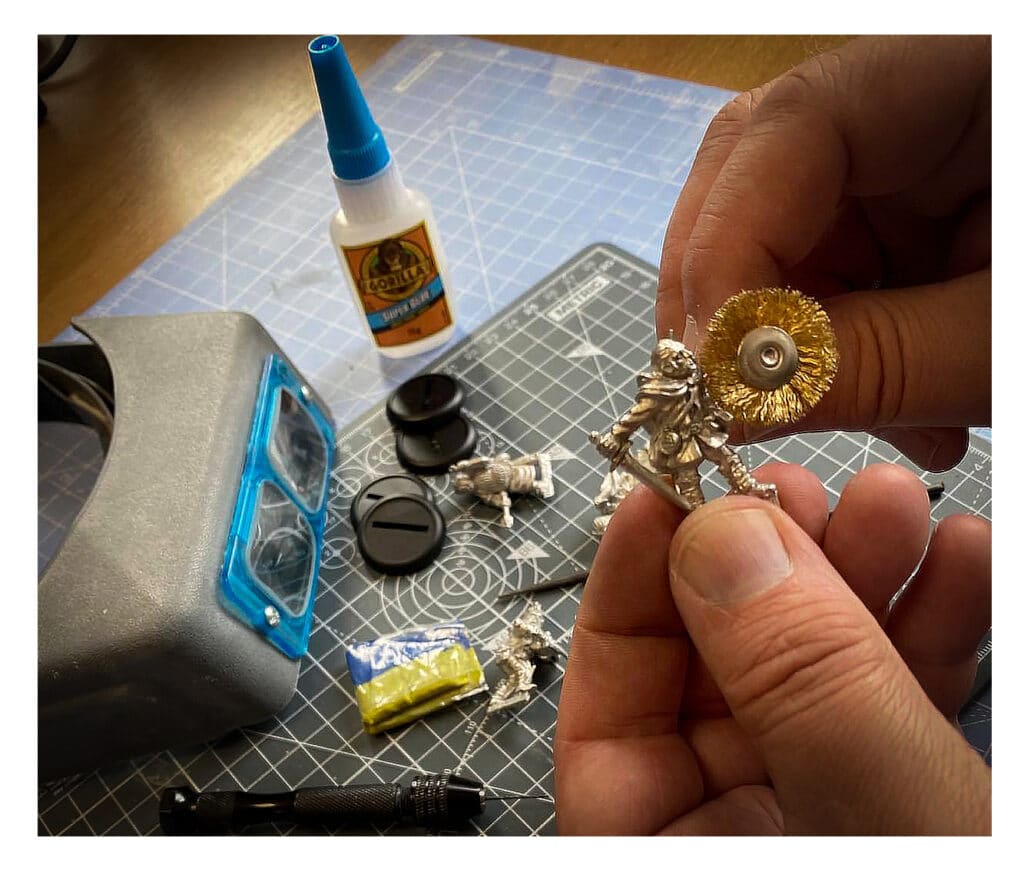
Using a brass brush, needle files, or a sharp blade remove any irregularities in the finish.
We use a very fine French Chalk as a release agent in the casting process, your new miniature may have an amount of this on the surface, it wont need to be washed or anything so tedious as that but you may want to brush off any remaining chalk before you move on to the next steps.
A brass brush is excellent for polishing and for getting rid of small imperfections.
Make sure you have reasonably good lighting and potentially some form of magnification to make it even easier. In reality this step can easily be performed with a simple craft knife but it certainly does get easier with some extra tools!
In the unlikely event you find any small imperfections in the model you are going to want to fill them with Green stuff, Milliput or another epoxy putty designed to fill metal. You can smooth down the filler before it is set so that it is flush with the surrounding areas you may also want to sand down any filled areas once it has set. Larger imperfections can be filled in the same way and any details that need replaced can be sculpted into the putty – Our miniatures should never, ever have any large imperfections of this type if they do then please contact us and we will arrange a replacement free of charge!
Clean any dust from sanding from your miniature before moving on to applying a primer base coat, again this can be done with a simple nylon brush. When you are happy that they are clean apply a thin coating of an appropriate primer or undercoat, acrylic primers come in a multitude of colours and brands; you may wish to choose one that will suit the planned colour scheme for the miniature. Otherwise you cant really go wrong with black. The primer will stick to the metal and allow you to paint on top of it with ease. Wet paint can very easily pick up fine bits of dust and pet hair which will irritate you when it comes to painting – so let these dry in a dust free location away from any furry friends!
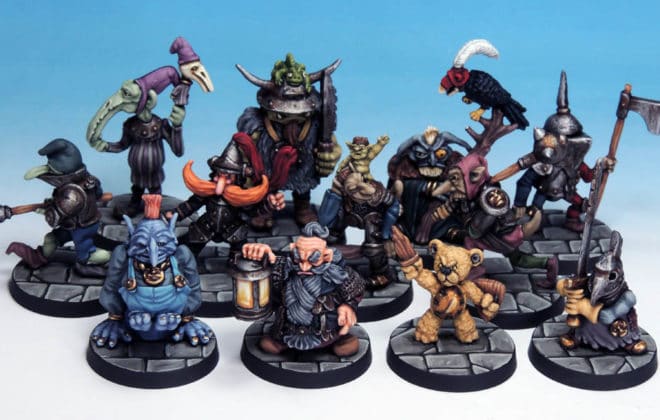
Congratulations your new miniature is now ready to paint!

